You have an API. Maybe it's a wrapper around an LLM. Maybe it's a data endpoint, an inference service, or a custom tool you built for your own agents. It works. People want to use it.
But charging for it is a different problem entirely.
You need a billing system. Or a Stripe integration. Or an API key management layer. Or a subscription tier. And suddenly what started as a weekend project has a month of infrastructure work attached to it.
There is a simpler path.
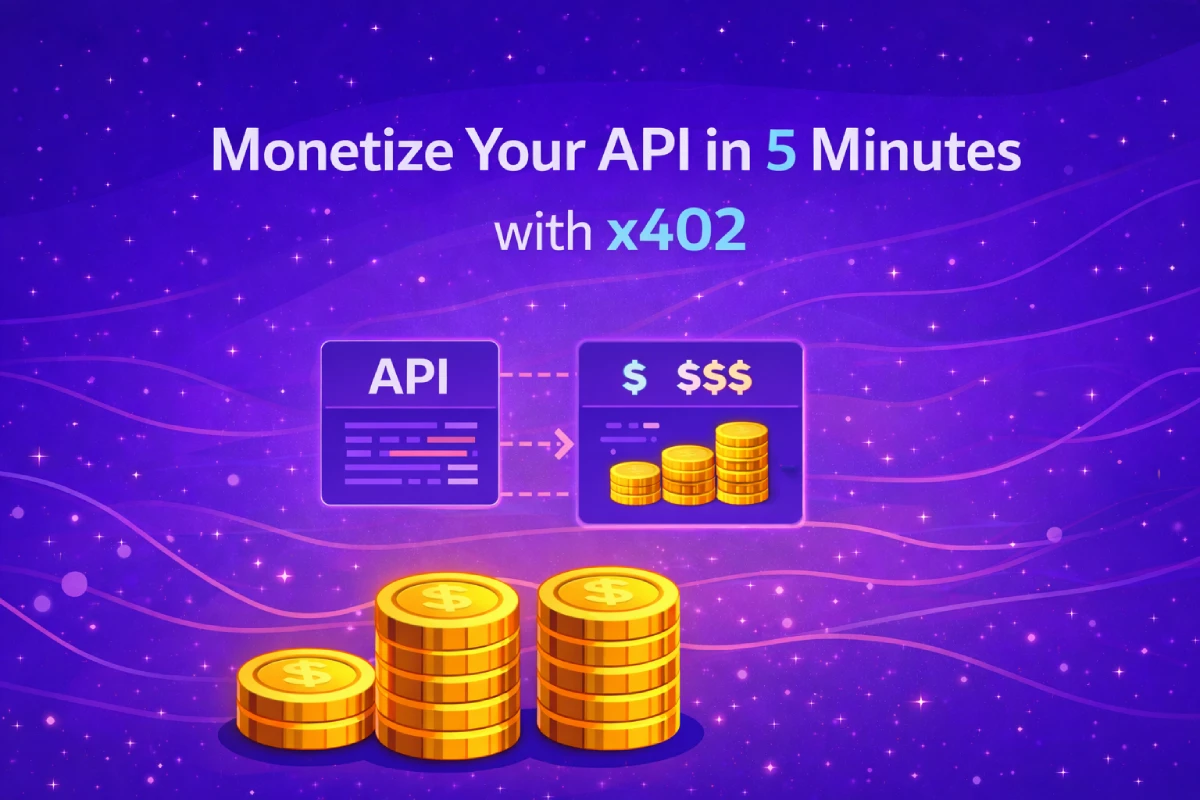
This post walks through turning any HTTP API into a pay-per-call service using RelAI and the x402 protocol — in about five minutes, with three HTTP requests.
What You Need
- An API with a public URL (any language, any framework)
- A crypto wallet address to receive payments (Solana or EVM)
- A RelAI account — or just a service key via the Management API
How It Works
RelAI acts as a proxy in front of your API. When someone calls your endpoint through RelAI:
- RelAI returns an HTTP 402 Payment Required response with a payment challenge
- The caller pays in USDC or other supported tokens (on Solana, Base, SKALE Base, Avalanche, or other supported networks)
- RelAI verifies the payment on-chain and forwards the request to your server
- Your server responds normally — it never sees the payment logic
Step 1: Get a Service Key
If you already have a RelAI account, go to relai.fi/dashboard/api-keys and create a key there.
If you want to do it programmatically:
curl -X POST https://api.relai.fi/v1/keys \
  -H "Authorization: Bearer YOUR_JWT" \
  -H "Content-Type: application/json" \
  -d '{ "label": "my-api-key" }'
Save the returned sk_live_... key. You'll use it for all management calls.
Step 2: Register Your API
One request to register your API with RelAI:
curl -X POST https://api.relai.fi/v1/apis \
  -H "X-Service-Key: sk_live_..." \
  -H "Content-Type: application/json" \
  -d '{
    "name": "My Inference API",
    "baseUrl": "https://your-api.example.com",
    "network": "base",
    "merchantWallet": "0xYourWalletAddress",
    "endpoints": [
      { "path": "/v1/predict", "method": "post", "usdPrice": 0.05 }
    ]
  }'
This tells RelAI:
- Where your API lives (
baseUrl) - Which wallet receives the payments (
merchantWallet) - Which endpoint to monetise and at what price
apiId. Your API is now live — immediately usable via the RelAI relay, visible in the public marketplace once reviewed.
Step 3: Call Your API Through RelAI
Your monetised endpoint is now available at:
https://api.relai.fi/relay/{apiId}/v1/predict
Any x402-aware client can call it and pay automatically. For example, using the RelAI SDK:
import { createX402Client } from '@relai-fi/x402'

const client = createX402Client({
  wallet: yourWallet,
  network: 'base',
})

const response = await client.fetch(
  'https://api.relai.fi/relay/YOUR_API_ID/v1/predict',
  {
    method: 'POST',
    body: JSON.stringify({ input: 'Hello world' }),
  }
)
The SDK handles the payment challenge, signs the transaction, and retries the request automatically. Your server receives a normal HTTP request with no payment logic to handle.
Setting Prices
You can set a different price per endpoint:
curl -X PUT https://api.relai.fi/v1/apis/{apiId}/pricing \
  -H "X-Service-Key: sk_live_..." \
  -H "Content-Type: application/json" \
  -d '{
    "endpoints": [
      { "path": "/v1/predict-fast",  "method": "post", "usdPrice": 0.02 },
      { "path": "/v1/predict-large", "method": "post", "usdPrice": 0.15 },
      { "path": "/v1/embed",         "method": "post", "usdPrice": 0.001 }
    ]
  }'
Prices are in USD. Conversion to USDC happens automatically at the time of payment. You can update pricing at any time — no downtime, no redeployment.
Checking Revenue
curl https://api.relai.fi/v1/apis/{apiId}/stats \
  -H "X-Service-Key: sk_live_..."
Returns total calls, total revenue in USD, and per-endpoint breakdowns for the last 7, 30, or 90 days.
Supported Networks
Your callers can pay on whichever network they prefer:
| Network | Token | Notes |
|---|---|---|
| Solana | USDC | Fastest, lowest fees |
| Base | USDC | EVM, low fees |
| SKALE Base | USDC, USDT, EURC, and more | Gas-free for users |
| Avalanche | USDC | Gas sponsored by RelAI |
| Polygon | USDC | |
| Ethereum | USDC |
"network": "solana", "base", "skale-base", etc. when registering your API. You can support multiple networks by updating the pricing configuration.
For AI Agents
If your API is consumed by AI agents rather than humans, the x402 protocol is a natural fit. Agents can pay autonomously — no human needs to approve each transaction.
Agents can also bootstrap their own RelAI credentials without any human login, using a wallet signature flow:
import requests, base58
from solders.keypair import Keypair

kp = Keypair()
BASE = "https://api.relai.fi/mcp/management/bootstrap/agent"

msg = requests.post(BASE, json={"publicKey": str(kp.pubkey())}).json()["message"]
sig = base58.b58encode(bytes(kp.sign_message(msg.encode()))).decode()

result = requests.post(BASE, json={
    "publicKey": str(kp.pubkey()),
    "signature": sig,
    "message": msg,
    "label": "my-agent",
}).json()

service_key = result["key"]  # sk_live_...
From there, the agent can register APIs, update pricing, and monitor revenue — all programmatically, with no human in the loop.
What Happens After You Register
Your API is immediately usable through the RelAI relay. Within typically 24–48 hours, the RelAI team reviews and approves it for the public marketplace, making it discoverable to other developers and agents.
The marketplace is indexed by AI agents via /.well-known/ai-plugin.json, /llms.txt, and /openapi.json — so your API can be discovered automatically by agents browsing for tools to use.
The Full Picture in Three Steps
Register your API:
POST /v1/apis → apiId
Set your price:
PUT /v1/apis/{apiId}/pricing → live immediately
Check revenue:
GET /v1/apis/{apiId}/stats → calls, USD earned
That's it.
Start at relai.fi/dashboard or read the full Management API documentation.